FAQ
What is LinkStock (Linkst.in)?
LinkStock, also known as Linkst.in, is a Social Media Bio Link & Affiliate Product Management tool. Link Stock power all links including social media, blog, and referral, video and affiliate product via only link. You can integrate all your digital assets with only Link.This tool is used to use in social media bio link like Instagram. Where you use only one link and you can link all the content together with only LinkStock Link.
Features of LinkStock
Links (Dashboard): Any type of link is added with Title, and Image Icon. In which Website, Blog, Social Media, Video, Affiliate, Referral, App Download Link or any working URL Link can be added.
Profile: In the profile, the user gives information about himself. Such as name, short description, profile photo can be set. With this, Favicon, Font Size, Font Style, Social Media Placement, Inquiry Form, Theme, Button can also be customized from the profile page.
Video: Direct YouTube video is embedded from here. Whatever video URL the user will paste here, it will be embedded on the profile page.
Store: From here the user can create a store in which he can add many affiliate products along with Product Name, Category, Description, Time and Image. Here Amazon, Flipkart and a Custom Buy Link Button have been given on a product. The user's product can be associated with three different affiliate network URLs.
Inquiry: If user enables Inquiry Form from the Profile. So from here all the inquiries can be seen that how many people have connected by filling the form.
Social Media: From here 10+ social media and microblog profiles like Facebook, YouTube, Instagram, and Twitter can be connected with the profile page.
SEO & Analytics: From here you can add Meta Title, Meta Description, Meta Keyword and Google Analytics code for the User Profile page. With this, users can track and monitor their profile on Google Analytics and optimize SEO.
Insight: From here you can check complete insight about the profile page. For example, information about Page view, Button Click, Product View, Video View, Leads, Location, Device and Traffic Source are available. With this, every button on the entire account for every link, product, video and social media gets an insight overview below.
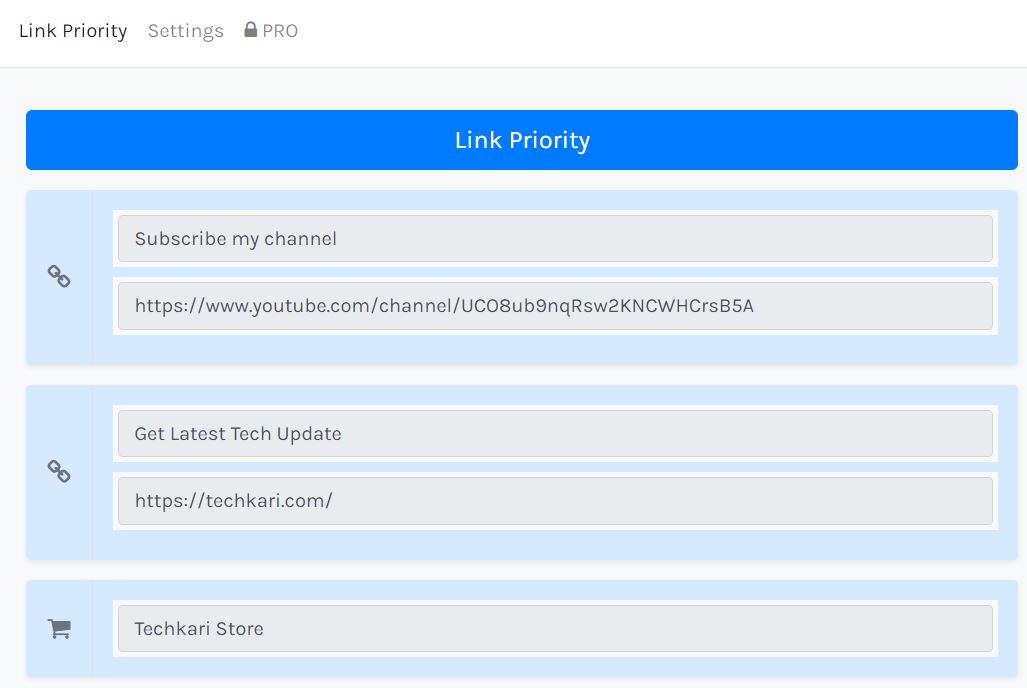
Link Priority: From here all the Links, Products, Videos added with the profile are given Top - Bottom Priority so that they can appear on the user profile link in the same way as the user sets.
Scheduling: Each link, video, product, and store can be scheduled for any time. Here the option of scheduling is available in both date and time modes.
How to Create LinkStock (Linkst.in) Account?
Step 1. Open Linkst.in website on computer or mobile browser.
Step 2. There is an option to Sign up in two places on the website homepage. In a menu bar named 'Signup' and on the button 'Get Started For Free', click on either of these places.

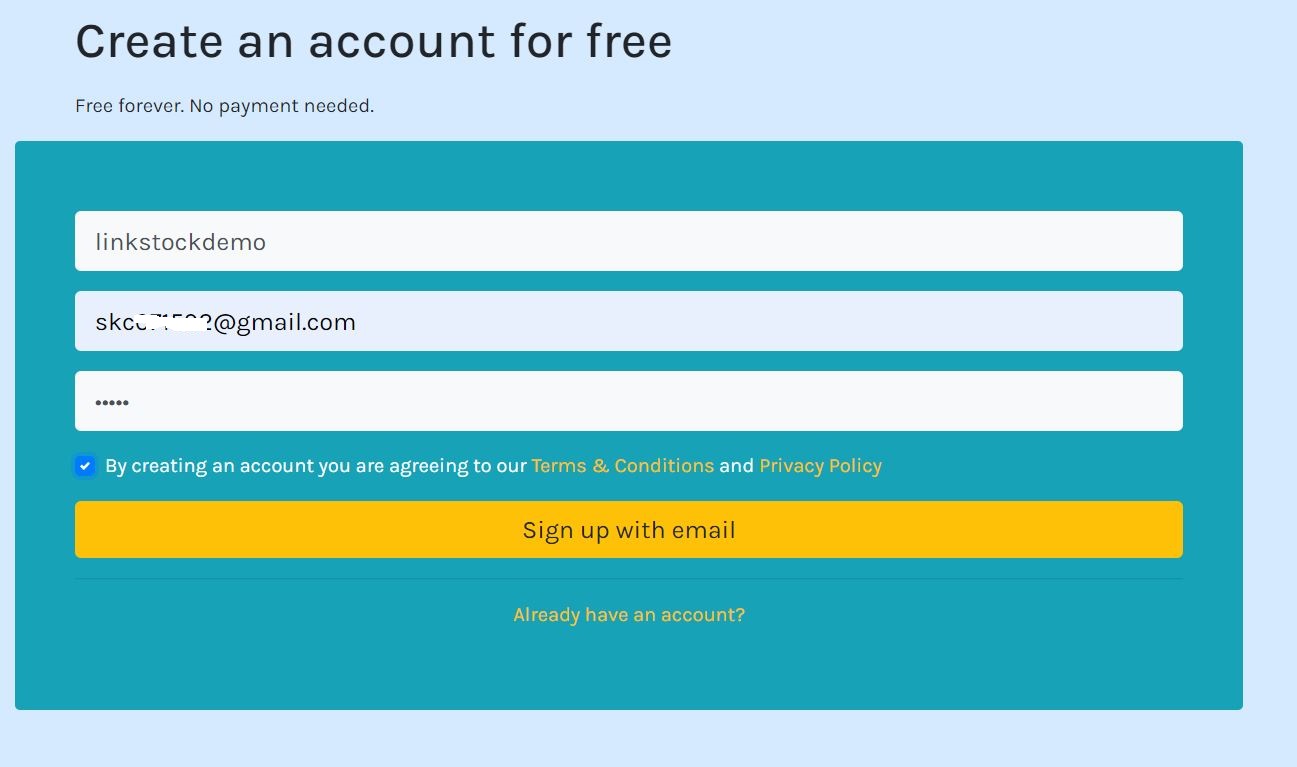
Step 3. Now here on the Signup page, enter UserName (Unique), Email and Password and then click on Signup with Email Button.
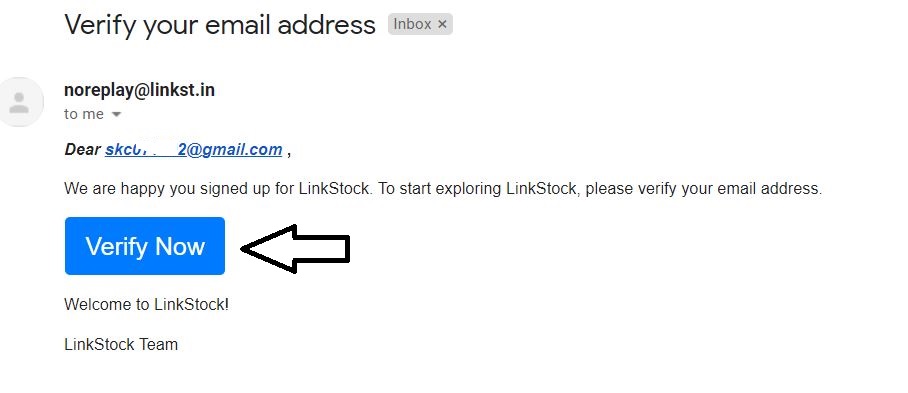
Step 4. A verification link has been sent to the email. Open the Email Account and verify the account by clicking on the Verify Now button.
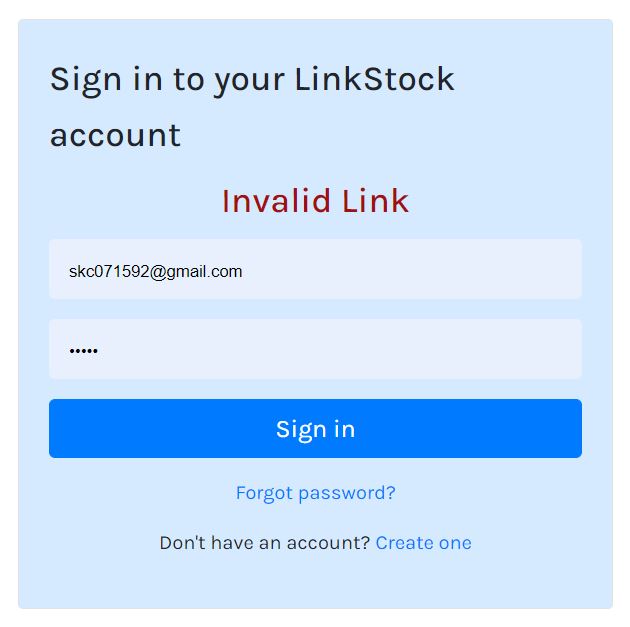
Step 5. Now login to LinkStock Account with Email Id and Password.
How to add link?
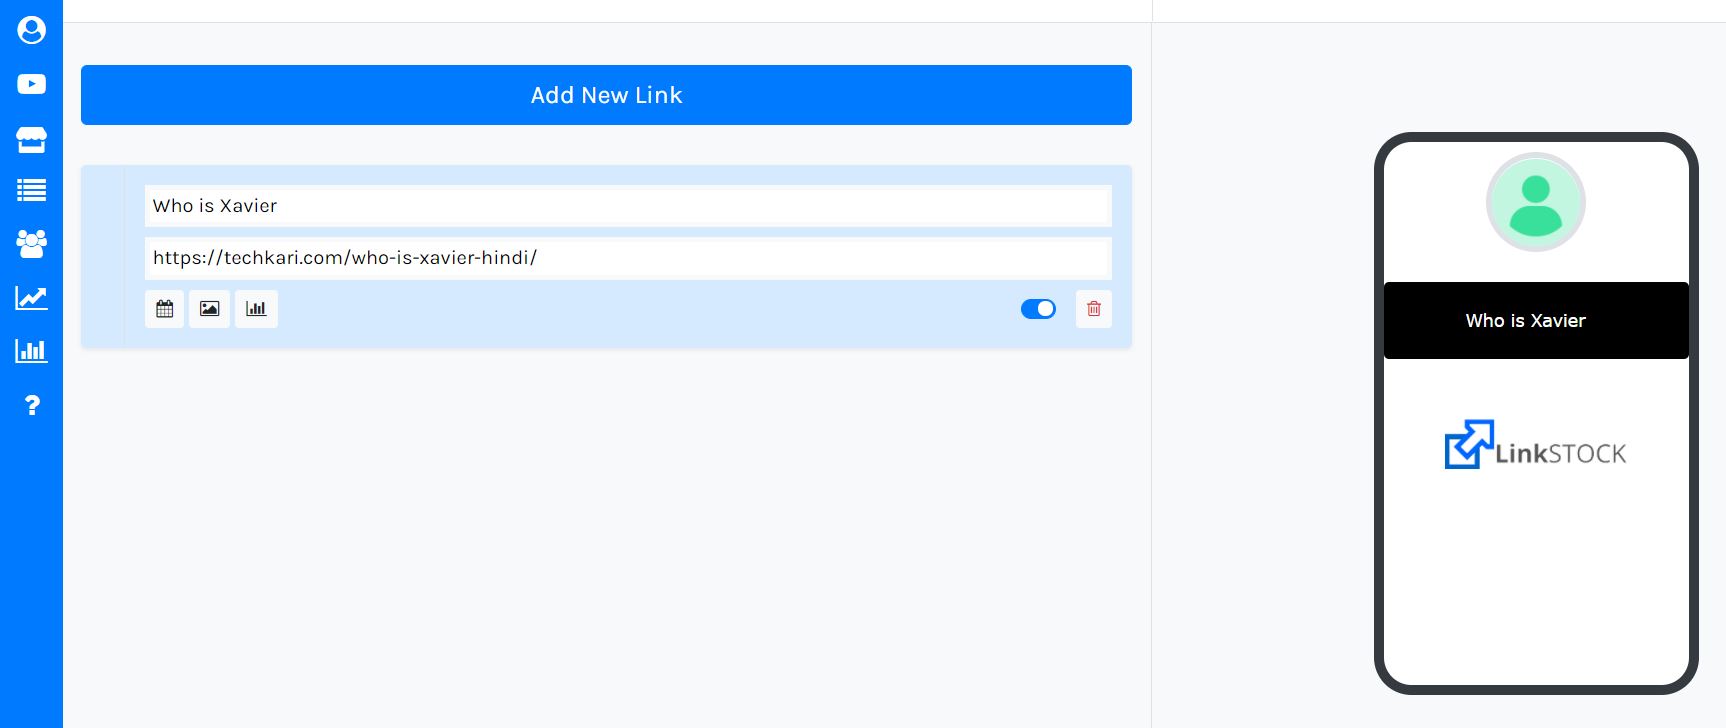
To add any type of link, login to account and go to Dashboard option. Here a default box will already be given to add the link, in which the link title and URL have to be entered. In this way, Unlimited Links can be added by clicking on Add New Button.
How to add video?
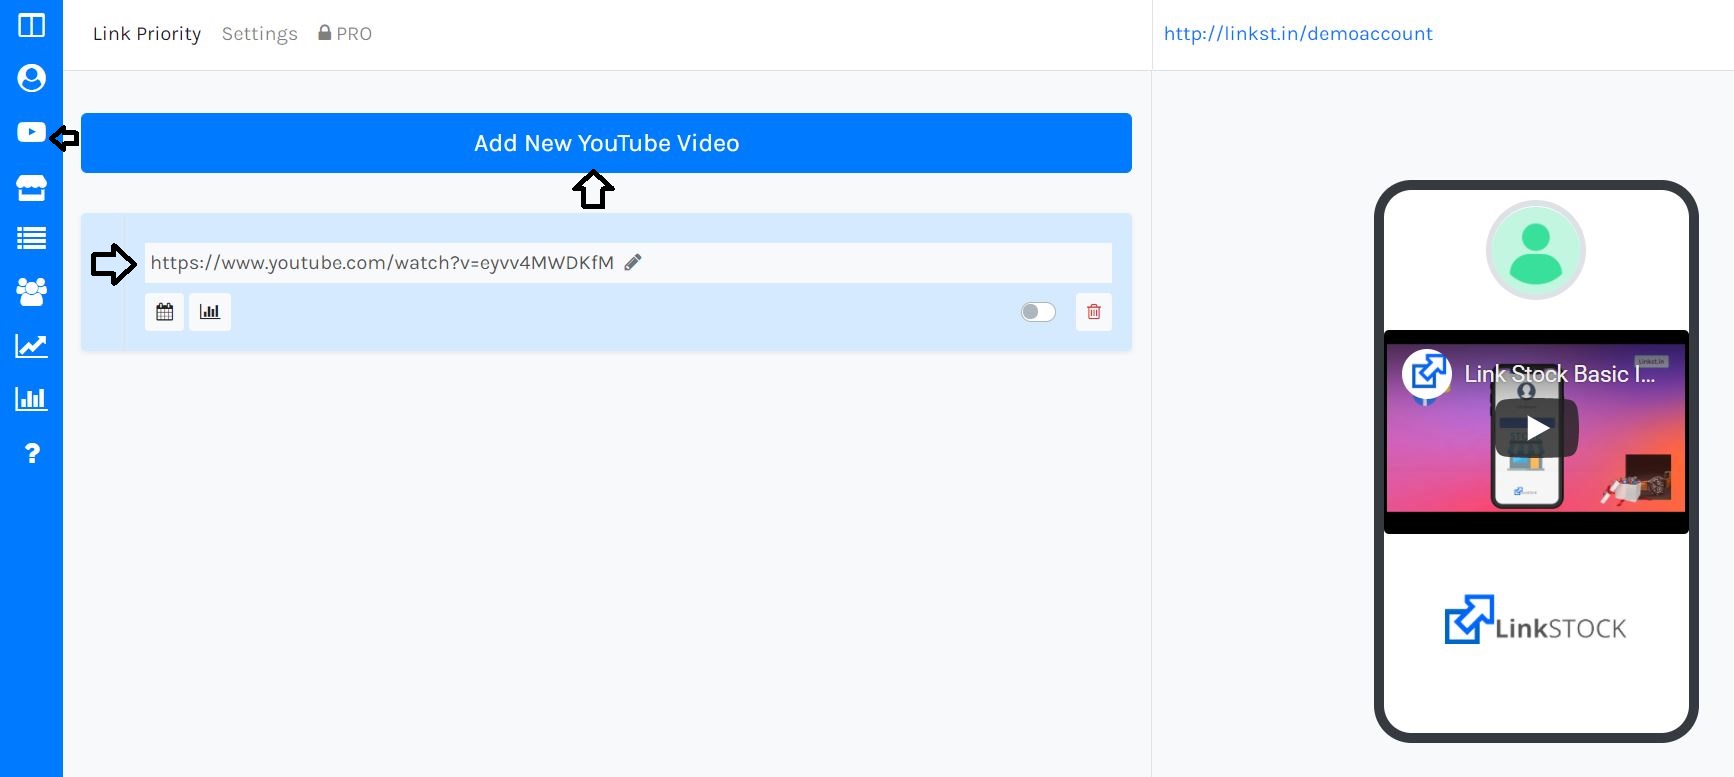
Login to account, click on Video Icon and enter YouTube Video URL. At this time only YouTube videos can be embedded from here and here Unlimited Video can be embedded from URL together.
How to add Store & Product?
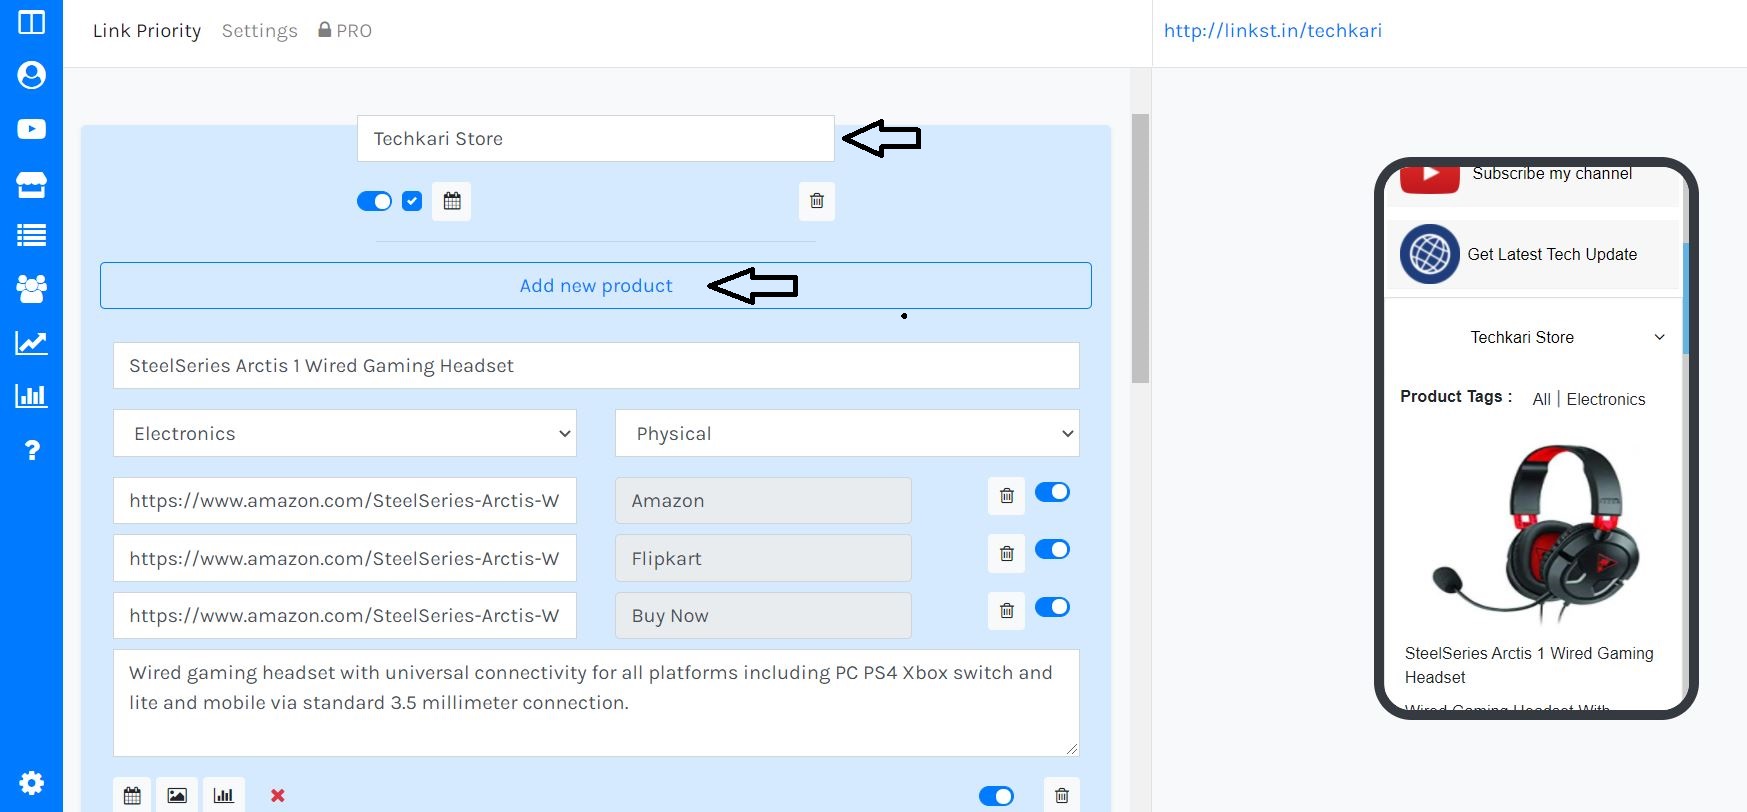
Login to account, click on Store Icon. From here a Store default will be found and users can create unlimited stores by clicking on Add New Store. Here enter the name of the store. Then the product will get the default open option for a product, users can add unlimited products from here. Name, category, type, affiliate URLs, description and image of the product can be put in the product.
How to add Social Media?
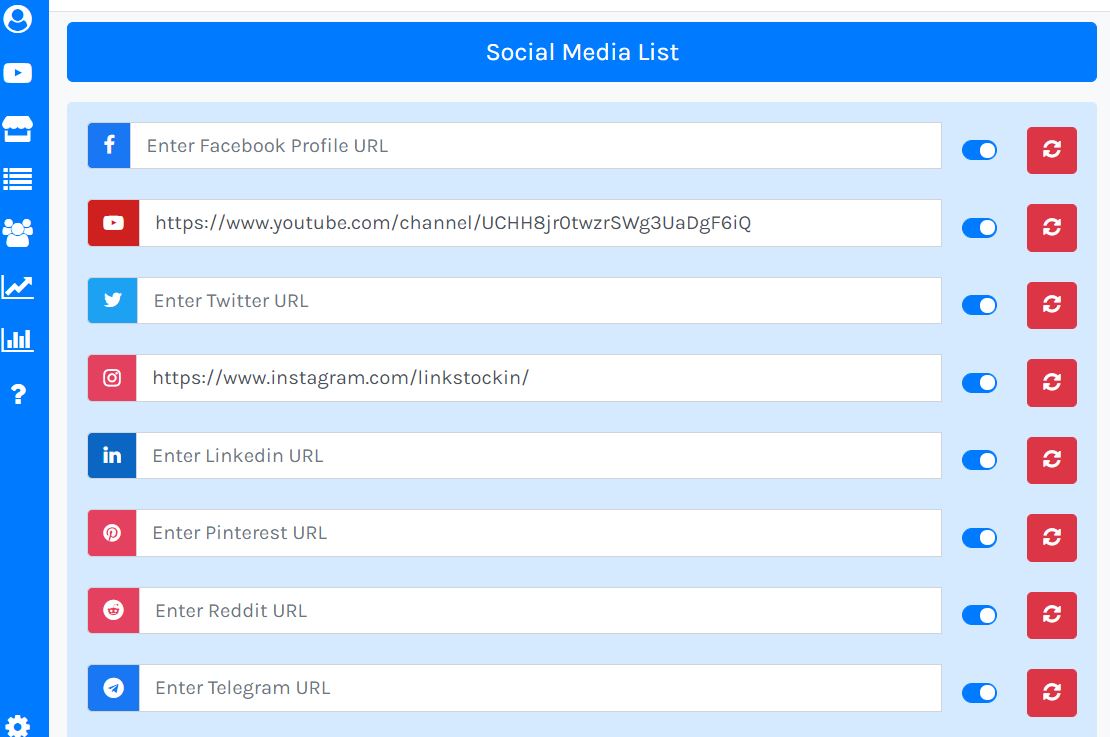
Login to account, click on social media icon. More than 10 social media accounts can be added here. The user should paste his social media profile URL here.
How to Change Theme, Button Style & Font Style?
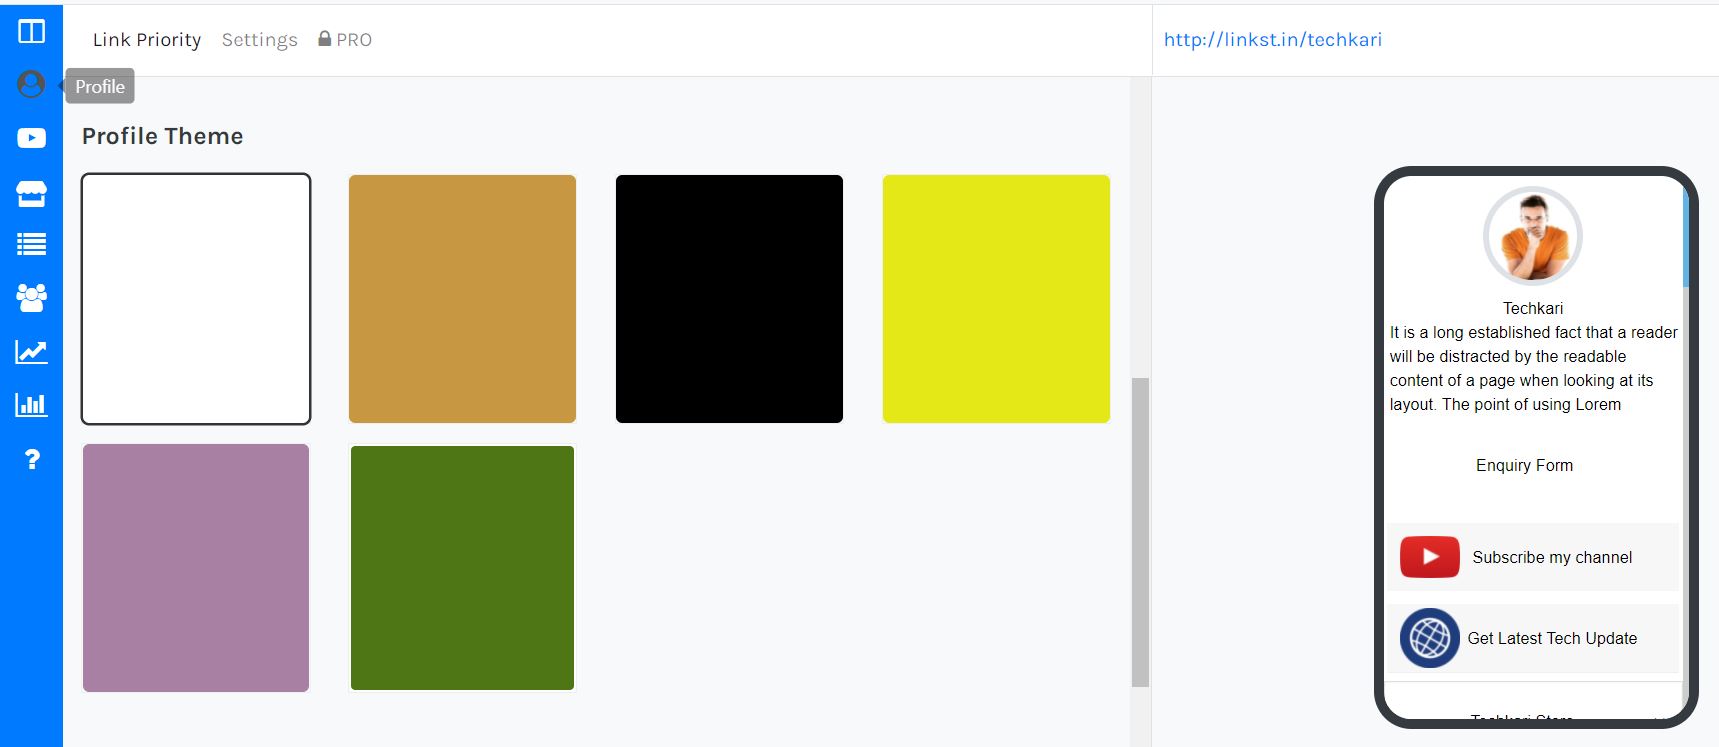
To change the theme of the profile page, login to the account, then click on the profile icon. Here many profile themes of different felt colors are found. Whatever color you click on which will be the theme for the user profile, it will be automatically set on the profile page.
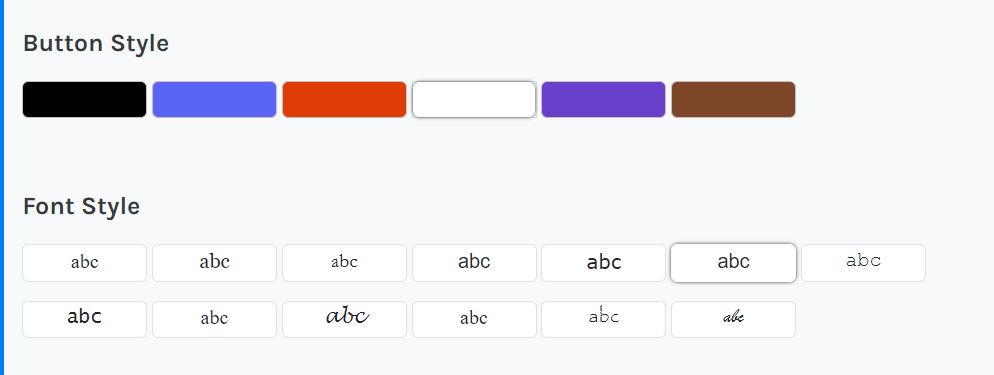
Many Style and Color buttons will be found here, whichever button you select here, it will be added to the profile page with the color.
Many different font styles are found here. If the user likes that style, then this page will be applied automatically.
How to Change Font Size?
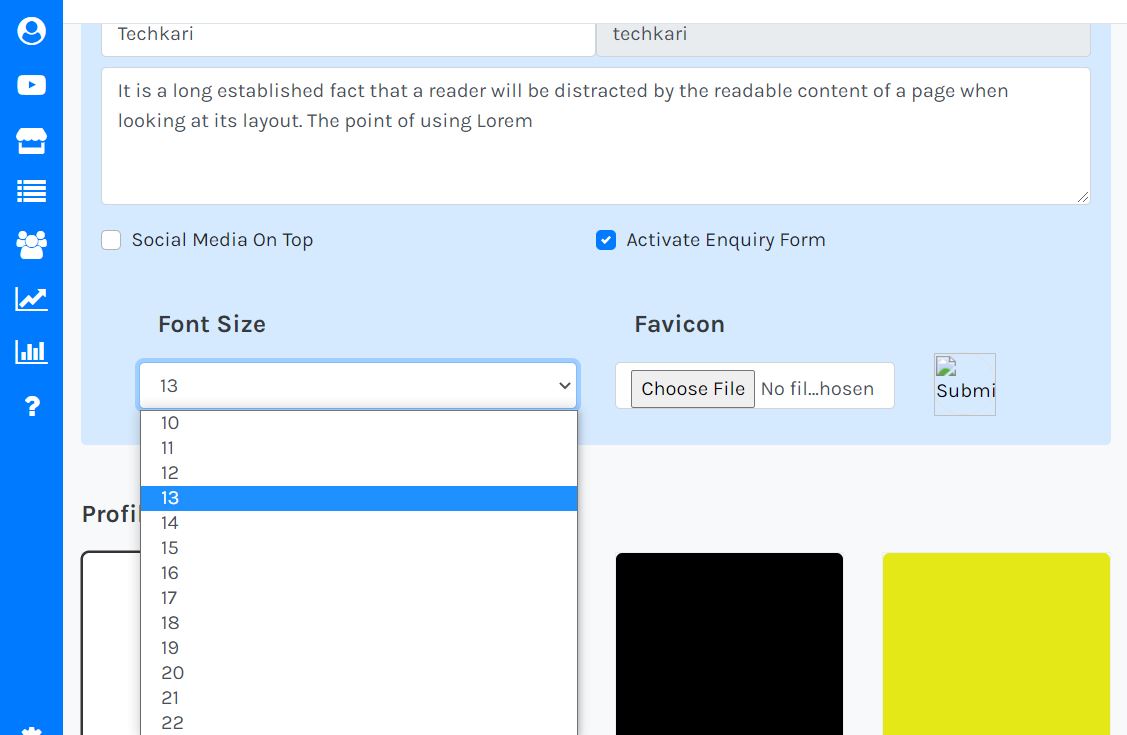
To change the font size of the profile page, login to the account, then click on the profile icon. Many different font sizes are found here. Users can select from the drop down menu and apply on the direct profile and button font.
How to Setup Profile?
To setup the profile of the Profile page, login to the account, then click on the Profile icon. Here the user can enter his own name, business name or any influential name. By clicking on Add Profile, you can set the Profile page icon and the user can write a short description about himself.

How to Enable Inquiry Form?
To enable the inquiry form of the Profile page, login to the account, then click on the Profile icon. Here you can activate the inquiry form by ticking the check box. Which will appear on the profile page as a button.

How to add SEO Meta & Google Analytics?
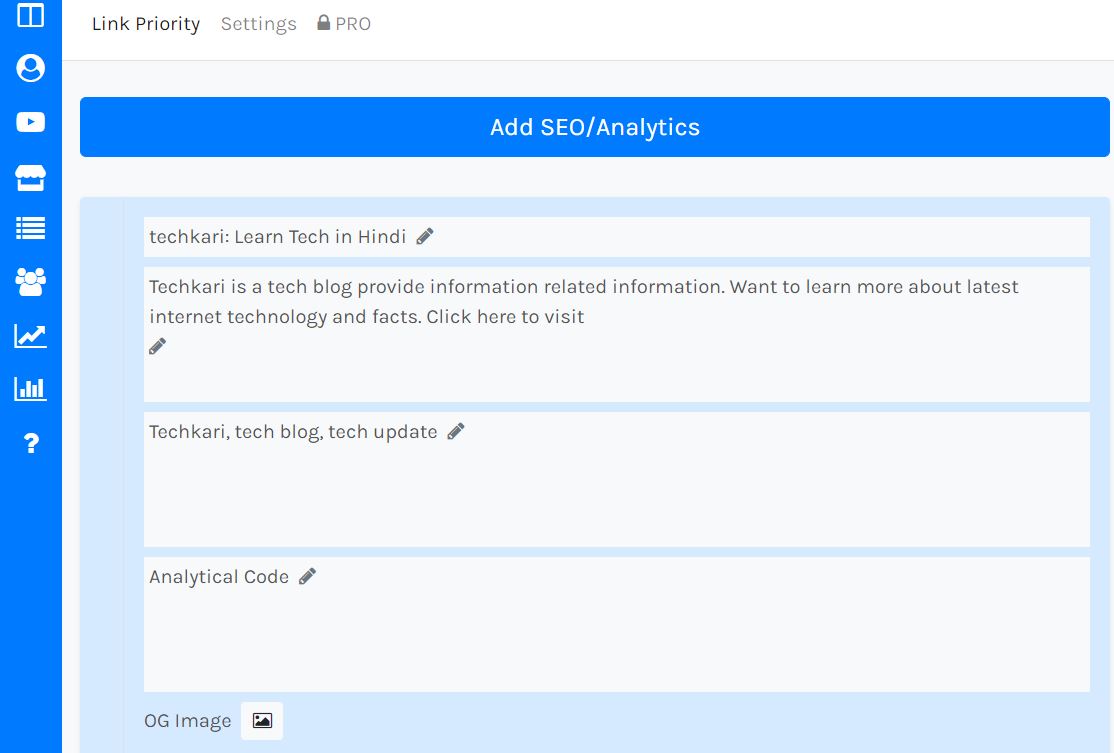
To add SEO title, Meta description, Meta keyword and Google Analytics code, login to account and click on SEO & Analytics Icon. From here add SEO and Analytics details to the profile which will help in optimizing the profile page and users can track their page on Google Analytics.
How to upload Favicon?
To put Favicon on the Profile page, login to the account, then click on the Profile icon. From here you can upload Favicon which should be of square 32x32px or 16x16px.
How to set Link Priority?
To set the priority of all added Links, Videos and Stores, login to the account and click on the Link Priority option. By dragging here, all the links, videos and stores can be set top to bottom priority. Those who are at the top will appear first on the profile page.
